Peace and Pandemonium
Tuesday, March 31, 2009
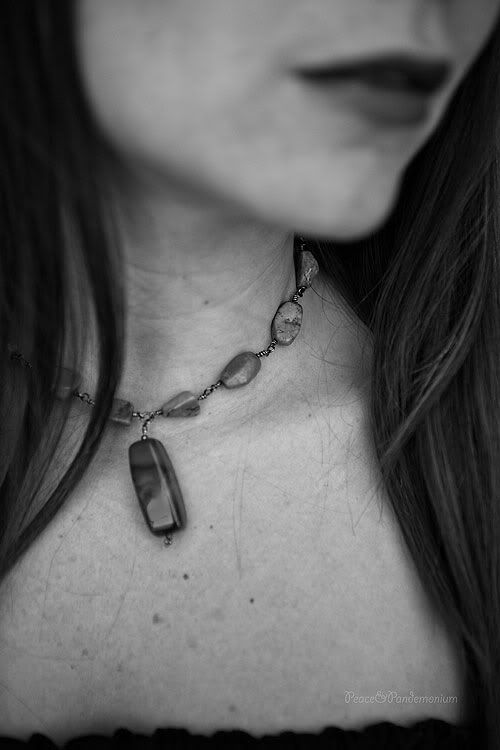
Rachel Christine

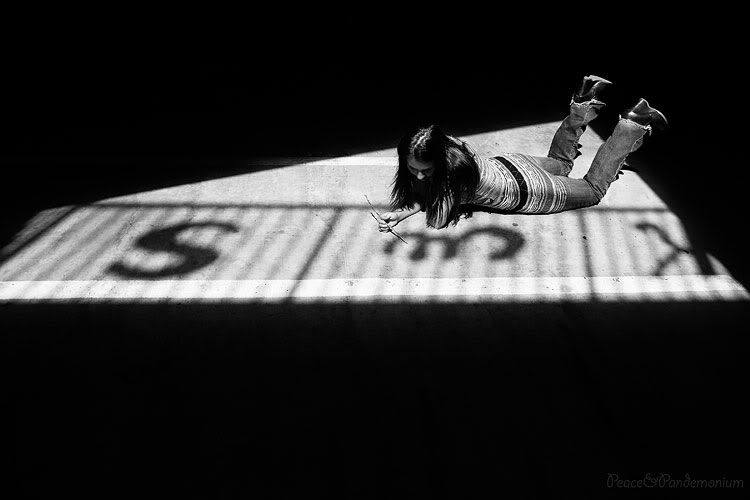
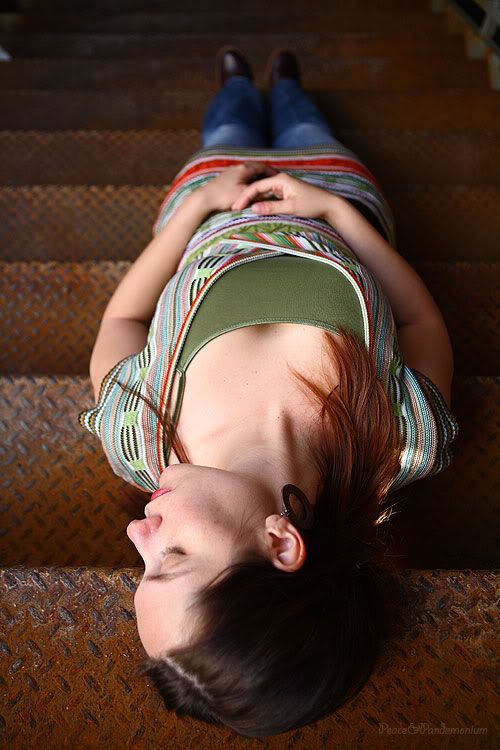
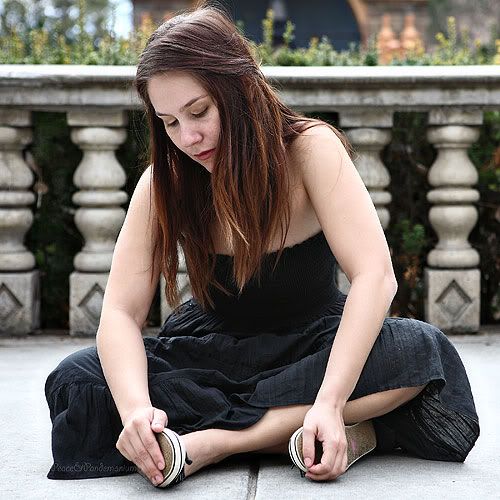
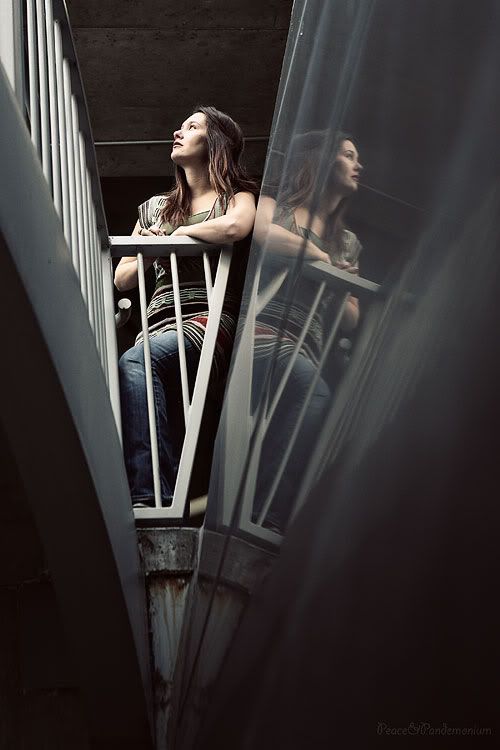

The Mysterious Song
"Mom! Mom, look what I did to my hands I broke them, you gave me a stone, gave me a chisel didn't say how to hold 'em."
I'm thinking? What?! Who gave you a stone? And a chisel? How do you even know what a chisel is? I immediately start booking it toward the sound of his voice in order to rescue him from this stone and chisel and to examine his damaged hand. Then, I hear him again,
"Mom! Mom, look what I did to my hands I broke them, you gave me a stone, gave me a chisel didn't say how to hold 'em."
At this point I let out a sigh of relief. He's doesn't have a broken hand and he's not playing with caveman tools. Phhhew, but the mystery was still there. I didn't approach him about it. Instead I just listened as he repeated this phrase over and over and over again. Hummmmmm??
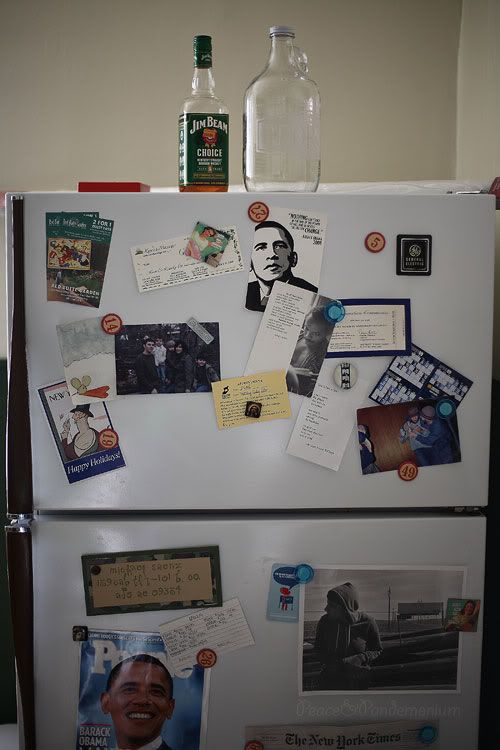
Another day... I'm sitting at the computer and this paper with random picture is sitting on the desk next to me.
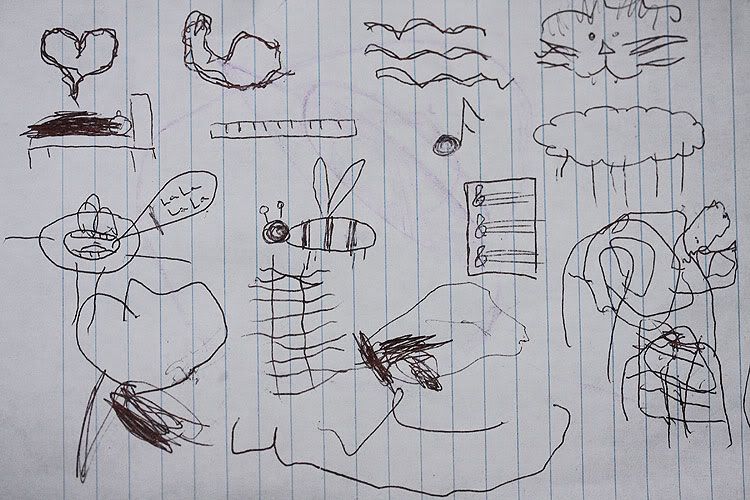
I dont know what to make of it. I can tell it was drawn by Greg, the kids uncle who babysat them the night before but I dont have a clue what it is about. My thought is that the kids wanted him to draw him pictures of random things and he happily obliged. With that explaination in my mind, I let it go.
A couple days later...Sophia is humming a catchy tune. I've never heard it before, and it sounds really pretty. Especially coming from her sweet little voice. I listen a little closer and this new song appears to have words. I cant really make them out because it's obvious that she doesnt completely know the song. Matias is wandering around humming the same little tune. It sounds something like this...
"The force of my love is strong. The sea lion lays down long." Here, have a listen.


Greg is over at my house so I ask him if he knows what they are singing. He informs me that it's Sea Lion by Sage Francis.
I had never heard of the group and never heard of the song before my kids started singing it. It's a good thing they have a cool uncle like Greg who keeps us all updated on new music.
Turns out, I really like the song. :)
What do you think of it?
Monday, March 30, 2009
Me me me...
Tuesday, March 24, 2009
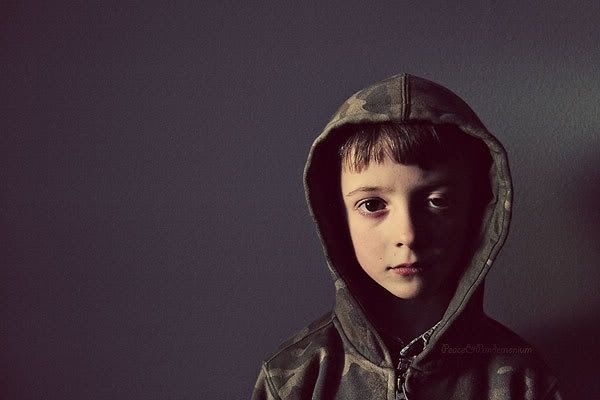
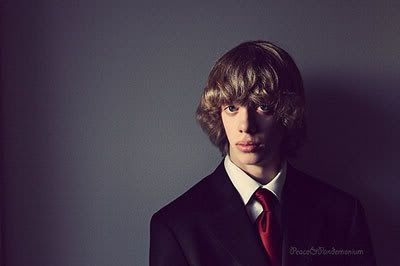
Unknown Boy
When Her Heart Speaks, I Listen.
"Mom, guess what my heart is telling me?"
I immediately stop what I'm doing because I'm very curious to know what her sweet little heart says when it speaks to her.
I ask, "What is your heart telling you sweetheart?"
She replies, "It's telling me that I need to go pee and I'm going to wipe myself because I just need to go pee not poo."
While laughing I respond, "K well you'd better go then."
3 minutes later...
"Mom!!!! I need a wipe!"
"I thought you were going to wipe yourself?!"
"but I went poo!"
Saturday, March 21, 2009
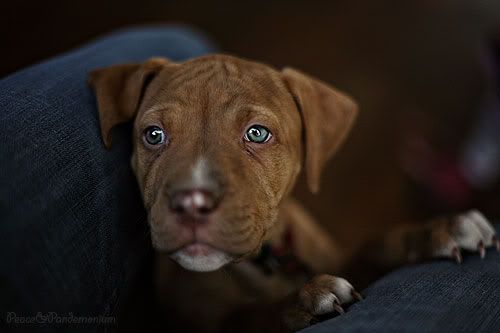
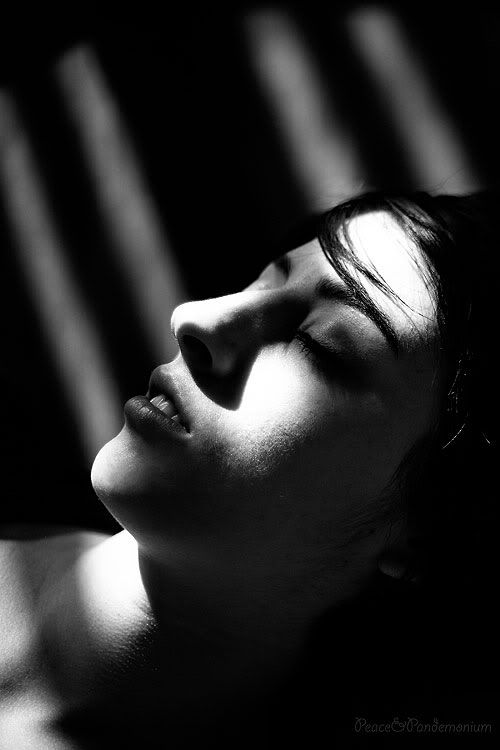
Esme

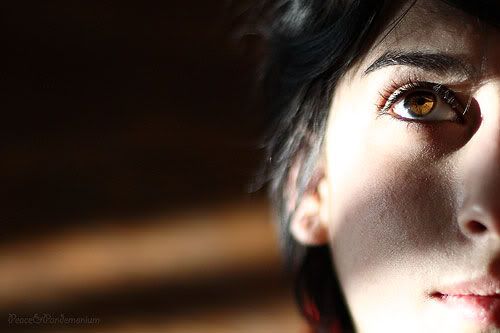
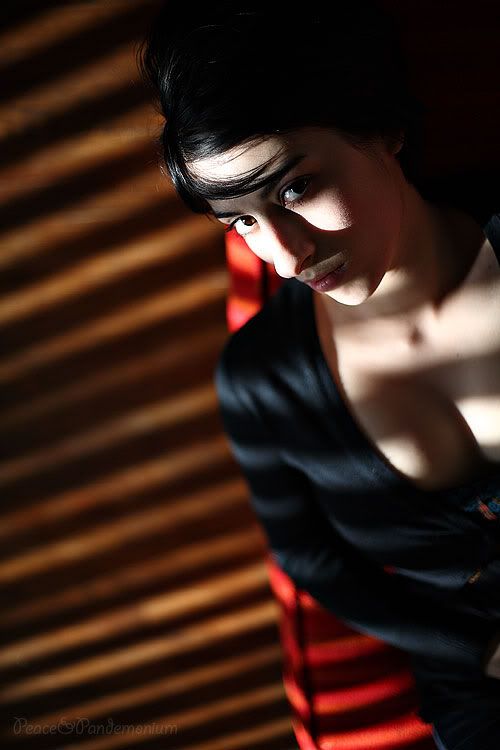
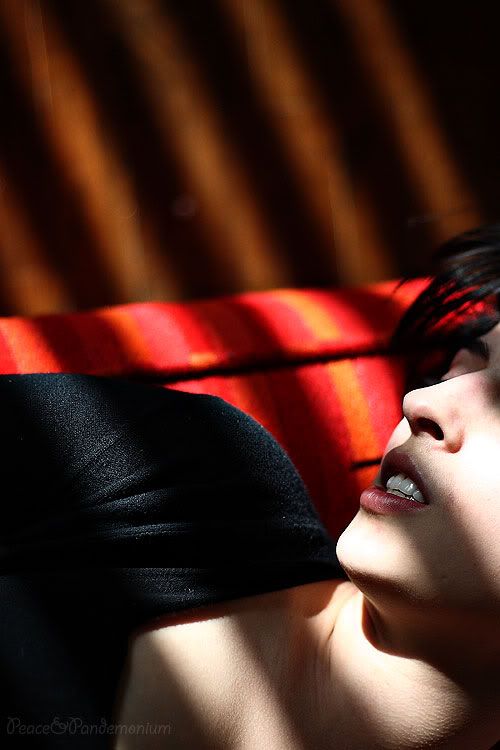
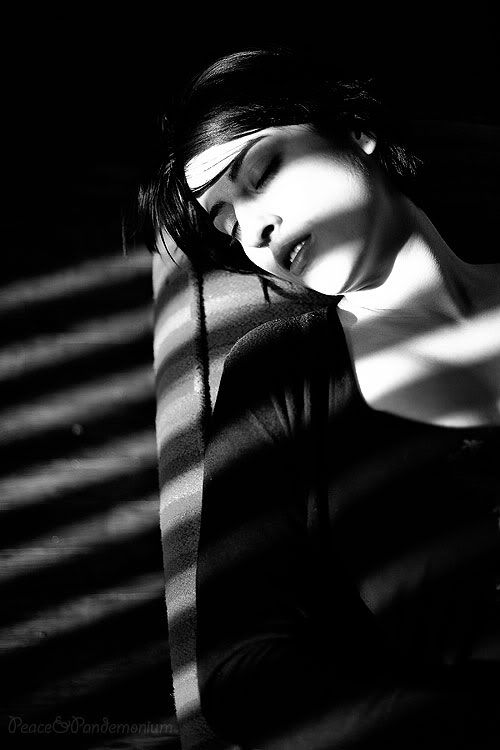
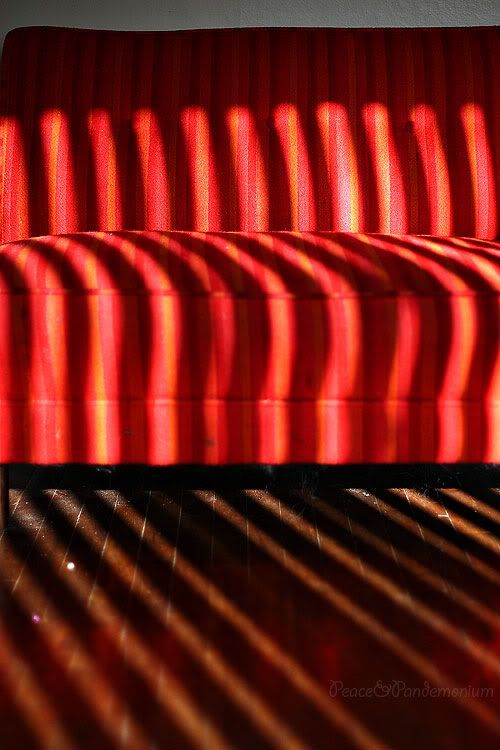
Ashley In Stripes Reprisal

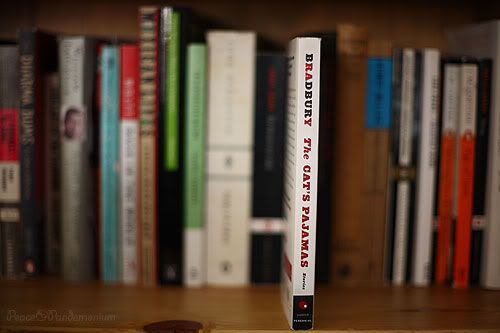
Casa de Bradbury

Thursday, March 19, 2009
Isn't She Lovely?

There is something so captivating about seeing my daughter in her most natural state. Leotard with undies hanging out, unbrushed tresses, bare feet. Beautifully unaware of my camera.
Her innocence enraptures me.
Some Answers
How do you meter for your photos? I'm always trying to ascertain what will be the best way for me so I figure that getting a wide range of opinions will help! Would love to hear your take on it! "
Metering is a great question. I don't know if I'm doing it the right way or not. I don't have a light meter to get official readings from so I use a technique called "nulling out" the meter. Basically, I use the light meter inside my camera to make the exposure mark in the viewfinder sit in the center of the +/- exposure graph. I fine tune from there depending on what the particular lighting I'm working with requires. I'll snap a picture and look at it in my LCD screen. If I need more or less light I'll will adjust accordingly. Different cameras expose differently so with practice you may discover that you need to shoot one notch to the right or the left of center in order to get the exposure that you want. This technique serves only as a guideline, not as an absolute. I also really like to use the other metering tools that my camera offers. Depending on the lighting I will use my evaluative, spot, or center weighted metering.
For example, when the light comes from over your shoulder onto the scene you are photographing or when there is a fairly even distribution of light and dark throughout the scene, use your evaluative setting. This takes light readings from different areas around the viewfinder and calculates the different values of brightness and then balances the information out and comes up with the proper exposure. This is great to use 80% of the time.
Then there are those occasions when the lighting is more dramatic and you want to emphasize the drama of the light more than you want to expose the whole scene. This is when spot metering comes into play. To meter for this setting you switch to spot metering and use your center focus point and place it over the brightest area of your subject (being sure to include some of the darker light too). This will give you a correct exposure on the highlighted part of your picture. The rest of the scene will fall off into shadows and thus not detract from your dramatic light. This setting may require some exposure compensation but that depends on what you want your final outcome to be.
The third metering mode I like to use is called center weighted mode. This is used when there is bright light that dominates a portion of the frame but not necessarily your main subject. For example, back lighting or highly directional light coming in from the sides. The light is read from all parts of the viewfinder, with 70% of the light reading coming from the center of the frame and 30% of the calculation from the edges of the frame. The camera reads the various brightness levels and then averages them into middle gray.
A really important thing to remember when metering your light in any situation is to know where the point your camera when making the reading. Use your center focal point. You can recompose your image after your exposure is set. You'll also want to control overexposing your image and you can do this by always including the brighter areas within the center circle of your frame when you make your reading.
"I have a question about lighting. I hate to use the flash on my baby's eyes, but the picture comes out too dark otherwise. I have put her in direct sunlight and that will either cause her to squint or it washes her out and creates weird shadows. How the heck do you get great lighting without all the problems. Apparently I'm doing something wrong.
Note: I'm working with a Sony Cyber-shot at this point."
Well Aja, I'm not super familiar with the Sony Cyber-shot but I do know that you shouldn't have to forfeit nice pictures just because you use a point and shoot. I also know that in order to get great lighting you'll want to avoid your flash and direct light! When you're taking pictures of your baby, place her in a bright room and face her toward a window that has natural light streaming through. If she is facing the natural light you should be able to see the catch light in her eyes. The catch light is the reflection of the window or light source in her eye. If you are outdoors and you want to take a nice picture without placing her in direct light I would suggest taking her into the shade and once again face her toward the light source. When the light is coming over your shoulder you're going to have the best chance of catching her in the best light. You also may want to read your owners manual and learn how to use your manual settings. Just because you have a point and shoot doesn't mean you cant make manual exposures. I would recommend learning how to make those adjustments and then come back to me and I'll help you make a manual exposure that will be sure to make a huge difference. :)
"When I recently took some photos of my daughter and son-in-law (it was about 2 p.m. on a very overcast, gray day, and they were wearing dark clothing, if that makes a difference) their faces were often blown out (over-exposed). What should I have done to correct this? I shoot in manual and tried exposing for their faces, but still struggled."
First off props to you for using manual! When I first started using manual I too struggled with getting my settings just right. I still struggle from time to time if I'm being perfectly honest. There is so much to remember...ISO setting, shutter speed, aperture. The most important thing though, is beginning to understand the relationship between the three.
When I'm going to make an exposure I always start with my ISO first. I always want the lowest ISO setting possible so that I can avoid unnecessary grain. The next thing I think about when making an exposure is aperture. When shooting portraits I like to use a wide open aperture. However, if you stop down one or two stops your chances of getting a more crisp photo increases without losing the bokeh effect. For example, if you are using a 50mm 1.8 you can shoot at 1.8 and that's fine but if you shoot at 2.8 instead, you'll probably get sharper results and still maintain the desired look. Once again, not necessary, just an option if focusing wide open is a problem. (If you're taking a picture of a group of people, you'll need to narrow your aperture! This will assist in making sure that people on different focal planes will still be in focus.) Once I have set my aperture where it needs to be I will balance my shutter speed in order to null out my meter to my liking. As far as shutter speed goes, you need to be careful, especially if you are photographing kids, a moving subject, or if you've had too much caffeine and you are shaky. :) I personally like to stay above 1/125 to ensure a crisp focus. 1/500 if my subject is moving (like in jumping pictures). If I have to go below 1/125 I will try to support my camera as steadily as I can by anchoring my elbow on something steady and though this may sound stupid, I always hold my breath when I click the shutter. You can always use a tripod in low light situations or just hand hold and risk a soft picture. Sometimes the mood of a picture is enhanced by a softer focus in my personal opinion. So play around and experiment. Don't get caught up with rules.
In order to avoid blowing out your images, shoot a little on the dark side. In reality it probably wont be too dark if your tendency is to over expose and if, on the off chance, it is a little too dark, you can always brighten it up in post processing by using levels or curves. The other benefit to shooting a little to the dark side is that you will retain more detail. Remember, when I say the dark side I only mean one or two stops darker. Not Darth Vader dark side. (My son is obsessed with Star Wars.)
"I understand that in when in A mode, for example, I'm in control of aperture, while the camera will automatically adjust shutter speed. And vice-versa in S mode. So my question is basically why both of those modes exist. In other words, is it just a preference? Like some people just prefer setting exposure via aperture and some via shutter speed? Or do different situations call for one to be manipulated over the other? Like is it easier to calculate that you need a certain shutter speed if you're taking a photo of a moving object, whereas if you're in a low-light setting, aperture is easier to adjust for? I don't know if this question even makes sense.
I have another one too--how do you make sure that two faces on the same plane are in focus? And where should I lock focus when I'm taking a photo of two or more people?
You pretty much already answered your own question when you were writing it. AV is aperture priority. It's basically and auto mode for the photographer who only wants to worry about depth of field and nothing else. Low light is also a good reason to use AV mode. You set the aperture (and ISO) and the camera nulls out the meter for you. Vice versa with the TV (or S) mode in which you set the shutter speed and your camera chooses the aperture that balances that speed with the available light. This is helpful if you have a moving subject or you want to freeze action. It's basically one less thing to worry about when you're shooting. I don't ever use these because I feel that it makes me lazy and I don't like giving up my creative control when taking my pictures. Sometimes I don't like what the camera "thinks" the best exposure is. I prefer to keep the control in my hands. With that being said, its ok to use these modes. Especially when you are just learning. Just don't use them as a crutch. Once you kind of know whats going on, switch to manual.
Your second question is the one I had to research. I talked to a Canon technician a couple months back about this same topic but once you asked the question I realized that I had forgotten. I called Canon again and asked them directly. This is what I re-learned. When focusing on large groups, focus on the person in the back of the group. The people in forward focusing planes will be in focus whereas anything behind the focus point will begin to lose focus. Thanks for asking that Rachel, I needed that refresher!
"I would love to take a photo of my kids where they are in focus and the background is not."
Callie, I hope that your other basic questions have been answered already in the above answers. In order to get a picture of your kids where they are in focus and the background is not try using your AV mode. Take your aperture to the smallest number your camera will allow. (ie...1.8, 2.8, 3.5 etc.) I don't know what lens you are using or what camera you have but if you are using the lens that came with your camera you may find it hard to achieve the desired look. Most kit lenses are 3.5 to 5.6. In order to get really great bokeh you would do well to purchase a 50mm 1.8. If you have a Canon camera this lens is a mere $80 and is worth every penny. I think the Nikon version is similarly priced though I'm not sure. With a 1.8 aperture you can get beautifully blurred backgrounds just by setting your camera to 1.8 and locking focus on your kiddies. If you want a one on one lesson I would be more than happy to make time for that. Send me an email and we can arrange a date and time. We can go over your camera in full and really get you acquainted with your settings and how to use them to get the images you are imagining. :)
Ok, that's all the questions that were asked. I hope I answered them in a way that is helpful and gave some insight. If you have follow up questions to ask please feel free to ask them.
If you missed out but have a question to ask, ask it! I'll answer as best I can.
It also seems that there may be some who would benefit from a one on one. I would love to spend some time with you training you in a more tailored and detailed way. Email me if you think this would be helpful.
Tuesday, March 17, 2009
A Synopsis
In order for me to share with you what I learned, I thought I would just transcribe the notes I took. Raw and unedited. The way I wrote them while there in the moment. Some are verbatim out of the mouth of the speaker. Others are just the ideas that came to me while other words were being spoken. These are the ideas I will try to incorporate into my own practice.
Experiment.
Break the rules.
Be creative.
Listen to your instincts.
Keep it simple. Simplicity, simplicity, simplicity.
Have a point. Identify the message of the image.
Have a clear message and make an emotion impact.
Capture the element of magic. (Easier said than done I'm afraid.)
Bottom line, sweat and commitment are required to improve.
Learn to routinely make correct exposures. Set your camera to manual and leave it there.
Study depth of field. Learn it. Practice it.
Learn about diffraction limits. (Yeah, I totally need to do this because I have no idea what that means!)
Capture feelings, emotion, and relationships.
Take pictures that create a connection with the viewer.
Create art! Do this by putting something of ourselves into the image.
Make strong compositions - in the middle AND THE EDGES!
Check the background before taking the picture. Duh!
Look for things that you have an emotional interest in.
Become interested in your subject.
If you see something or notice something.....TAKE THE PICTURE, don't ignore it.
Follow your energy.
Get to know your equipment and then push it to the limits.
Don't settle for the first idea.
When things aren't working - move around.
Push the button. BEFORE IT'S PERFECT!
The challenge is to develop your unique identity as a photographer. Discover yours.
No element should distract from the image.
When editing pictures, watch out for "creep" and avoid it. Creep is when your pictures get more contrasty and saturated as the day goes on.
Maintain attention to detail.
Invest in a workshop.
Visit galleries. Look at lots of prints/images.
Study art appreciation.
Shoot a lot but show few.
NO SECRETS! Share information and help each other.
With that last one in mind I would love to answer any of your photography related questions. I certainly dont claim to know everything but I like the idea of opening up a question and answer session that maybe we can all gain from. Lets talk shop! Do you have a question? Ask me. Lets help each other improve. Just know that I may end up being the one asking you the questions. :)
Monday, March 16, 2009
The One I Love

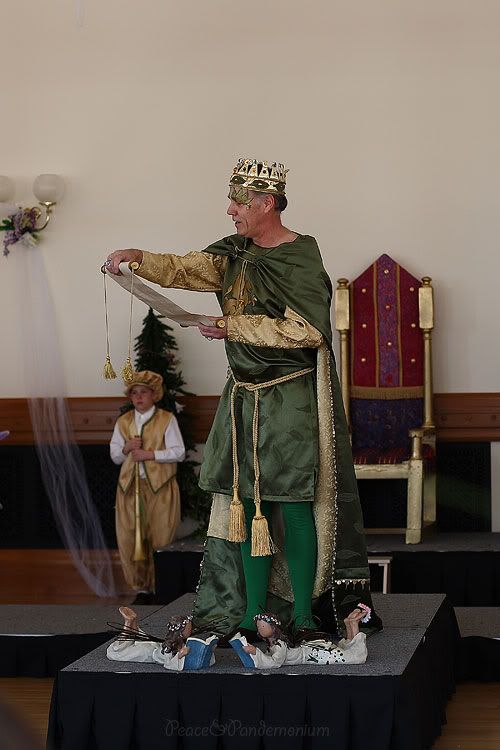
Fairy Tea Party
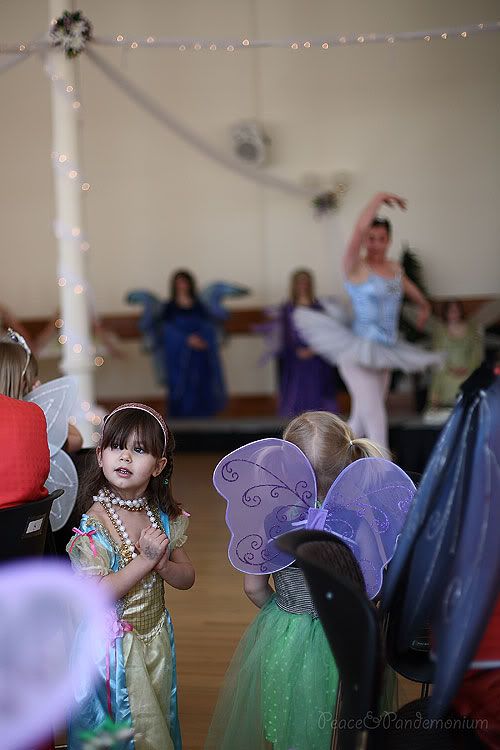
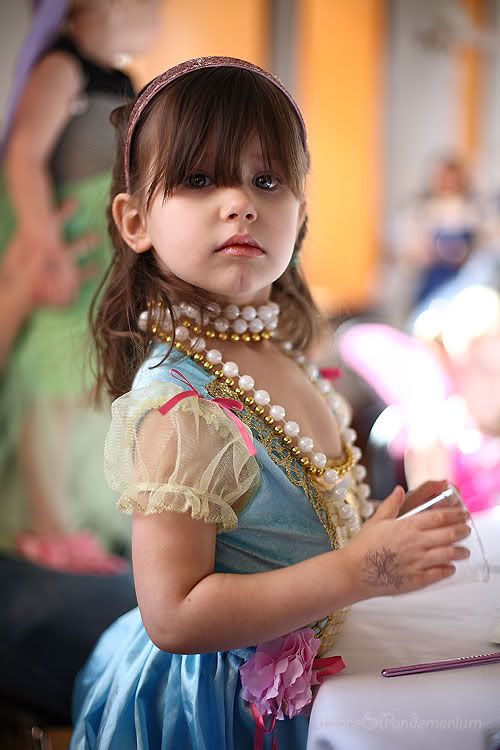

(Thanks to Elisha and Adam who scored the high demand tickets and to Liz for bringing Sophia home. I was double booked with photo camp that same morning so I had to leave before all the festivities officially ended. I'm so glad to have friends like you guys.)
Friday, March 13, 2009
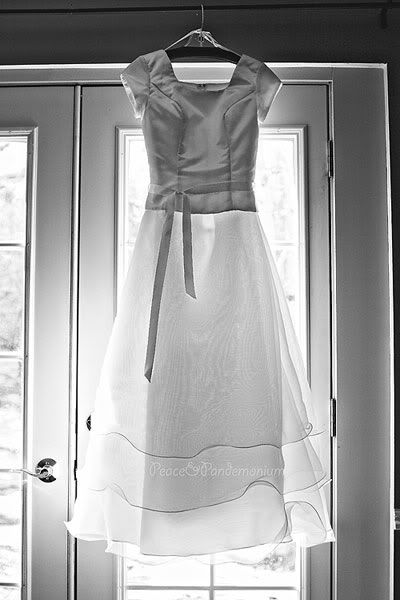
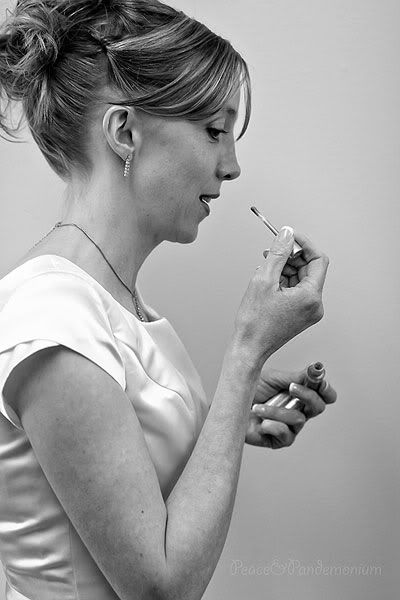
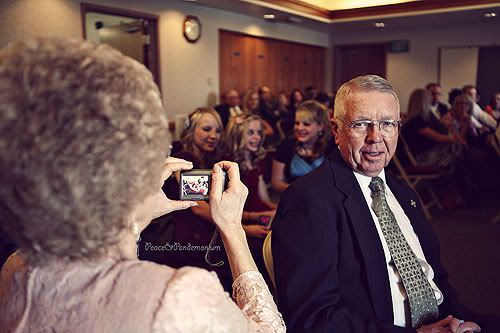
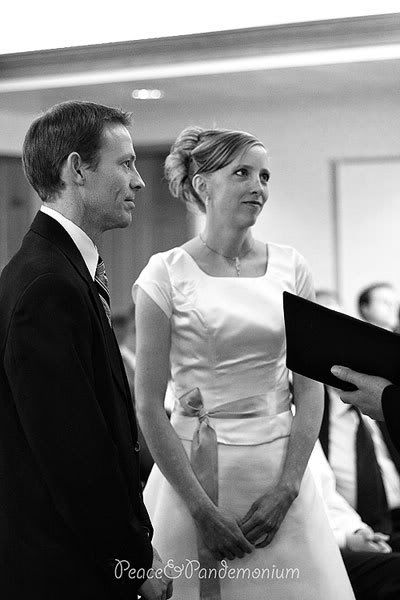
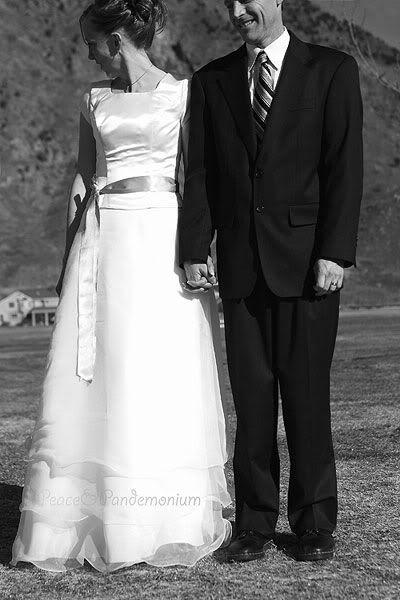
Kent + Kathryn Get Married
The dress, the bride and the groom...
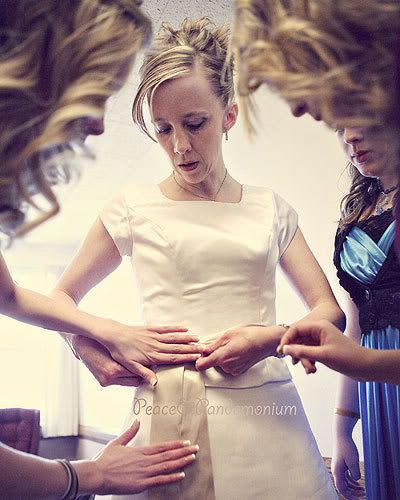
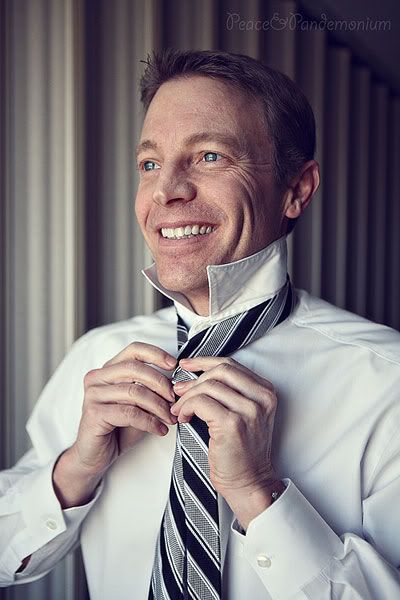
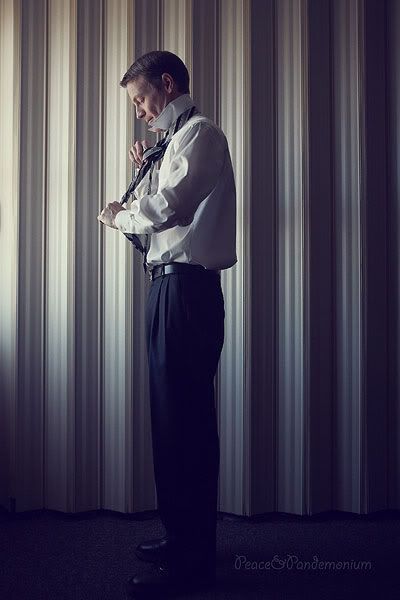
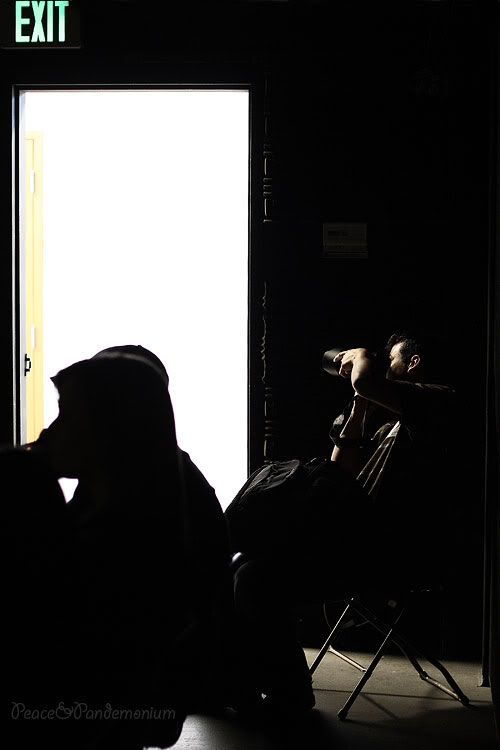
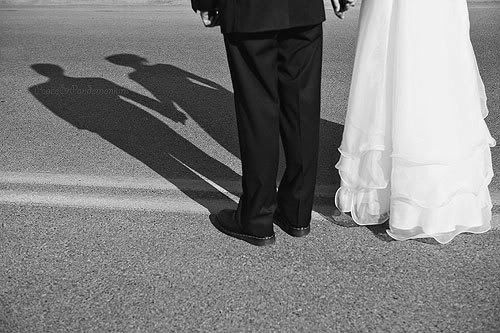
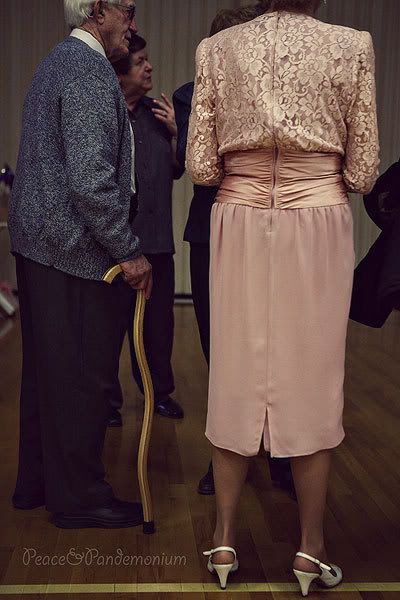
The waiting is the hardest part...even though it doesn't look like it. :)

Two from the ceremony...
The rings that bind...

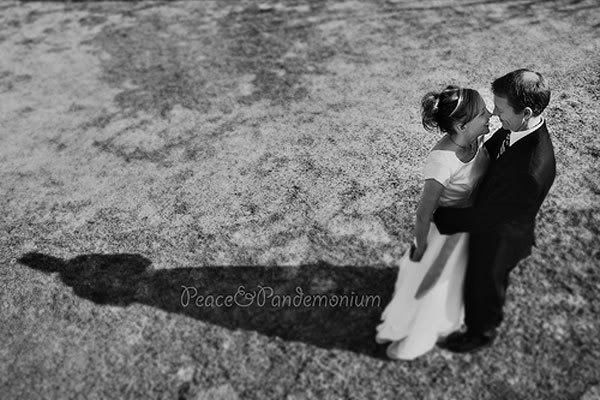
A few of Mr. and Mrs. Barney...
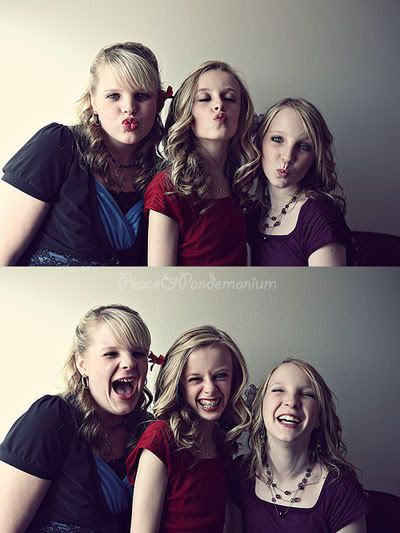
The girls...
The boys...


I just LOVE this picture from the reception!
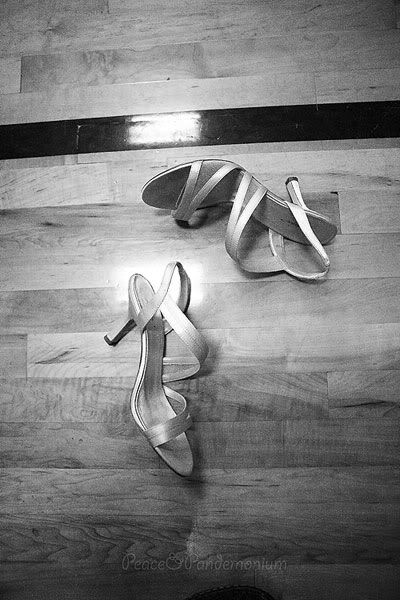
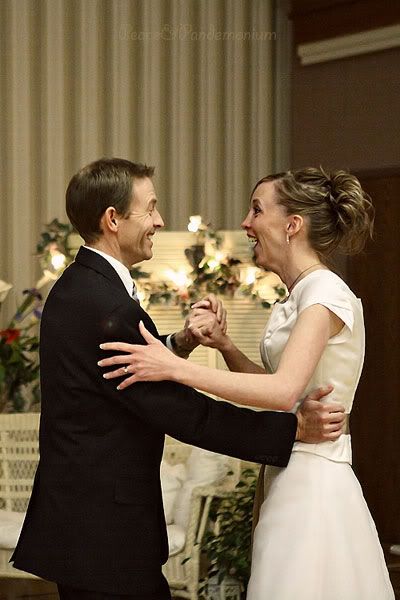
The first dance...without her shoes of course. :)
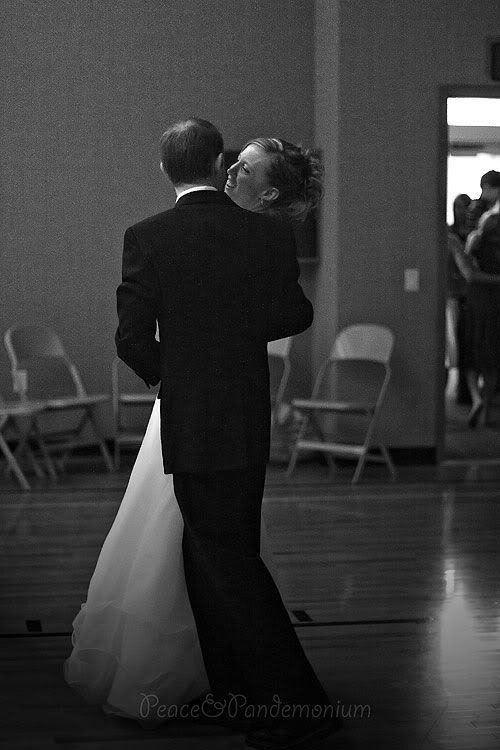
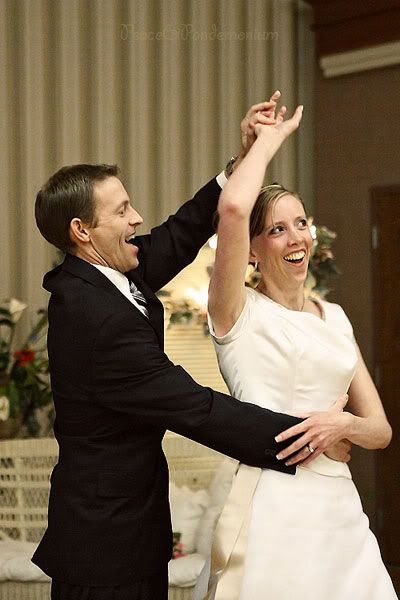
The following sequence is my favorite of the day. As the bride and groom enjoyed their first dance as husband and wife the music cut short and they had to finish a little earlier than expected. It was so funny and resulted in some very candid photos!
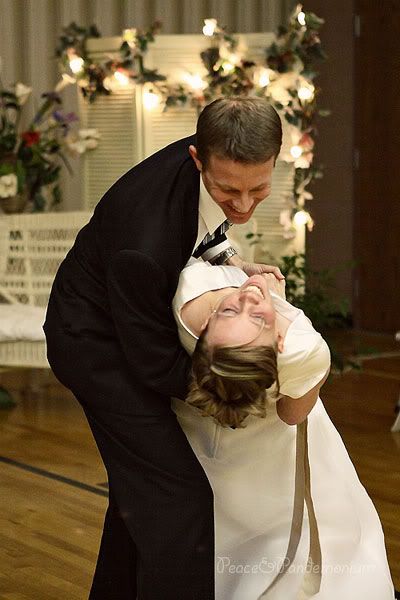
And after that joyful dip, they lived happily ever after.
Archives
December 2007 January 2008 February 2008 March 2008 April 2008 May 2008 June 2008 July 2008 August 2008 September 2008 October 2008 November 2008 December 2008 January 2009 February 2009 March 2009 April 2009 May 2009 June 2009 July 2009 August 2009 September 2009 October 2009 November 2009 December 2009 January 2010 February 2010 March 2010 April 2010 May 2010 June 2010 July 2010 August 2010 September 2010 October 2010 November 2010 December 2010 January 2011 February 2011 March 2011 April 2011 May 2011 June 2011 July 2011 August 2011 September 2011 October 2011 November 2011 December 2011 January 2012 February 2012
![]()
Subscribe to Posts [Atom]